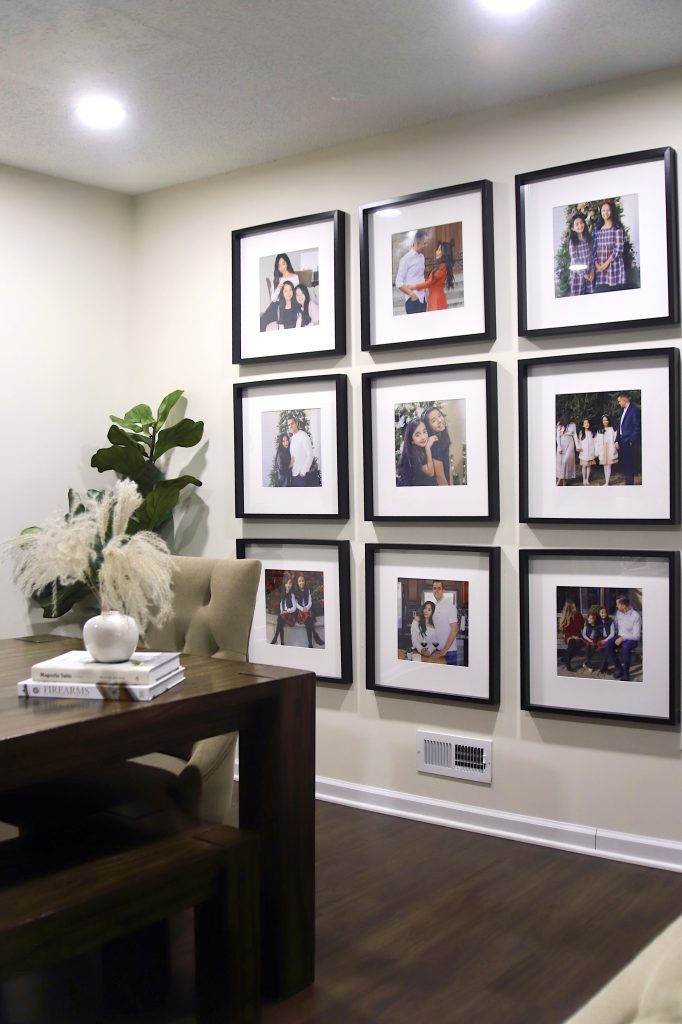
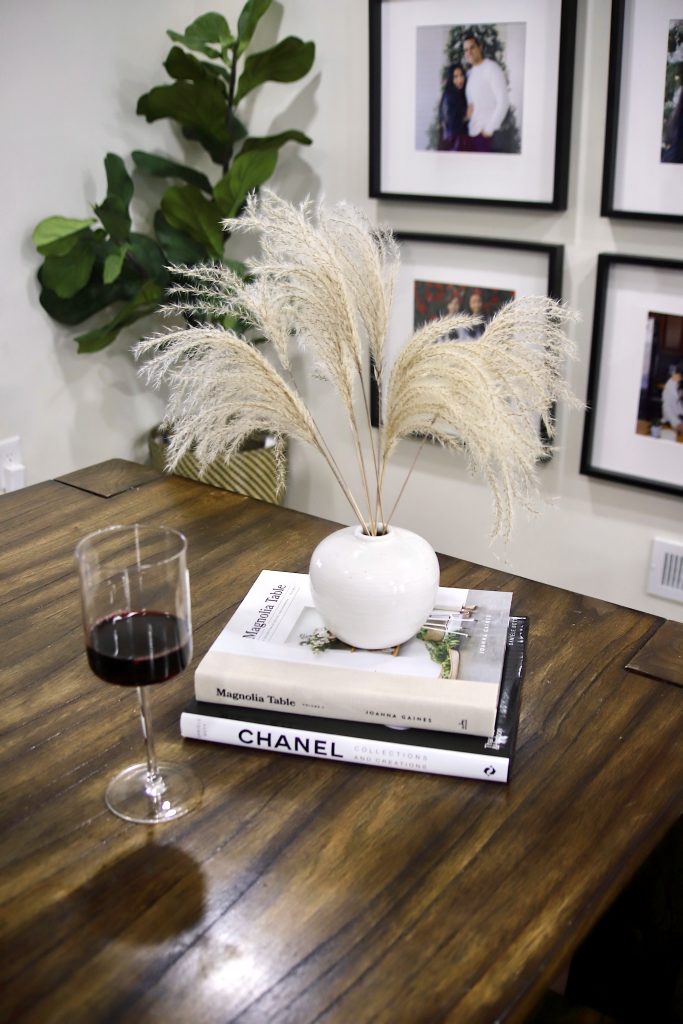
My gallery wall is finally finished guys! It feels like it took us forever to finish this project but it’s FINALLY DONE! One thing that stopped us from completing this sooner was not knowing where we wanted to place it. My mind was set in my living room since the very beginning, until we started to measure the space we had to work with, and realized it wasn’t going to be big enough for the gallery I envisioned. I also didn’t want to go over budget because this isn’t our forever home, so it wouldn’t make sense to go all out. Maybe when I find the house of my dreams! (Crossing my fingers we find it this year🤞🏼) I shared the process with you guys over the last months and received so many questions, so in this blog post I want to share the type of frames we used (which are sold out online right now, but you can still find them in store) and the type of prints we ordered. I hope you guys find this post helpful! If there is anything I missed don’t hesitate to leave me a comment!
Frames- I went to IKEA for the frames and they were on sale for $9! I tried to find them online but they are no longer available, but you can still find them in store. I was there a couple of days ago and saw they were still on sale! They are 19 3/4 x 19 3/4 black frames. I found a similar options here and here. Thankfully my husband, Vlad, was able to measure the placements for each frame but I found a video that explains everything in detail in case you may need it. We also used mounting tape to make sure they all stay in place. Here is a video that explains everything in detail! He actually used the same frames I used and explains everything step by step!
Pictures- I used MPIX.com for the prints because they had amazing reviews! I went with the 12 x 12, E-Surface paper and fine linen texture. They look amazing. Super affordable and great quality! Totally recommend.
xoxo,
Sandy


